A car battery is an essential component of any vehicle, and it is crucial to ensure that it is working correctly. One way to test a car battery is by using a multimeter. A multimeter is a device used to measure the electrical characteristics of a circuit, and it can be used to test a car battery's voltage and overall health. In this article, we will discuss how to test a car battery with a multimeter.
What You Need
To test your car battery with a multimeter, you will need the following:
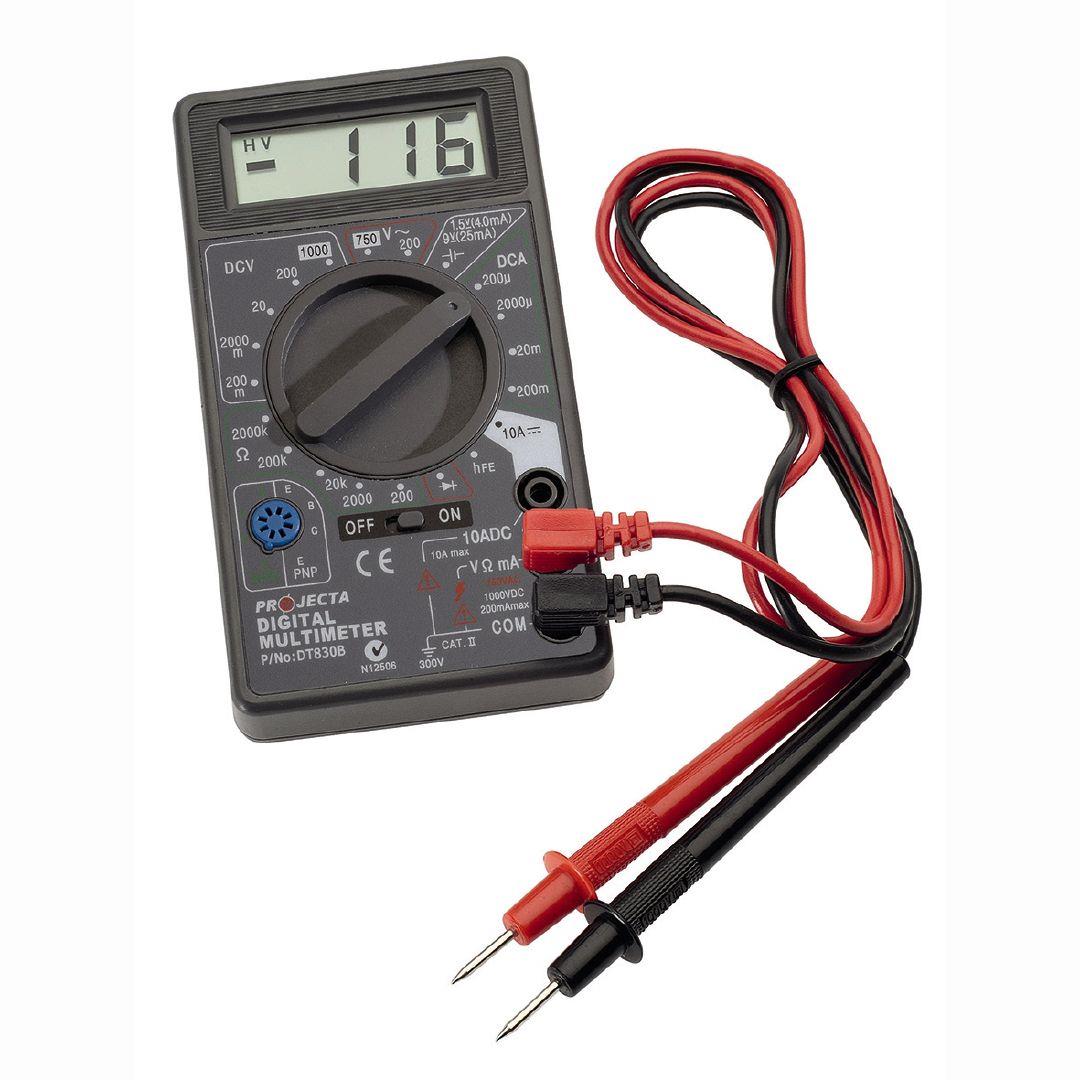
- A digital multimeter
- A pair of safety gloves and goggles
- A clean cloth
- A well-lit and well-ventilated area
- A fully charged car battery
Step-by-Step Guide

Follow these steps to test your car battery with a multimeter:
Step 1: Safety First
Ensure that you are wearing your safety gloves and goggles before you start testing your car battery. Batteries contain sulfuric acid, which is highly corrosive and can cause severe burns or blindness if it comes into contact with your skin or eyes.
Step 2: Turn Off Your Car
Before you start testing your car battery, turn off your vehicle's engine and remove the keys from the ignition. This will prevent any accidents or electrical shock.
Step 3: Open the Hood
Open your car's hood and locate the battery. The battery is usually located in the engine compartment, either on one side or the other. It is a rectangular or square-shaped box with two terminals (positive and negative).
Step 4: Clean the Battery
Use a clean cloth to wipe any dirt or debris off the battery's terminals. Ensure that the terminals are clean and free of corrosion, as this can affect the multimeter's readings.
Step 5: Set the Multimeter
Set your multimeter to the DC voltage setting. The DC voltage setting is usually marked with the letters "DCV" or a symbol that looks like a straight line with three dots underneath it.
Step 6: Connect the Multimeter
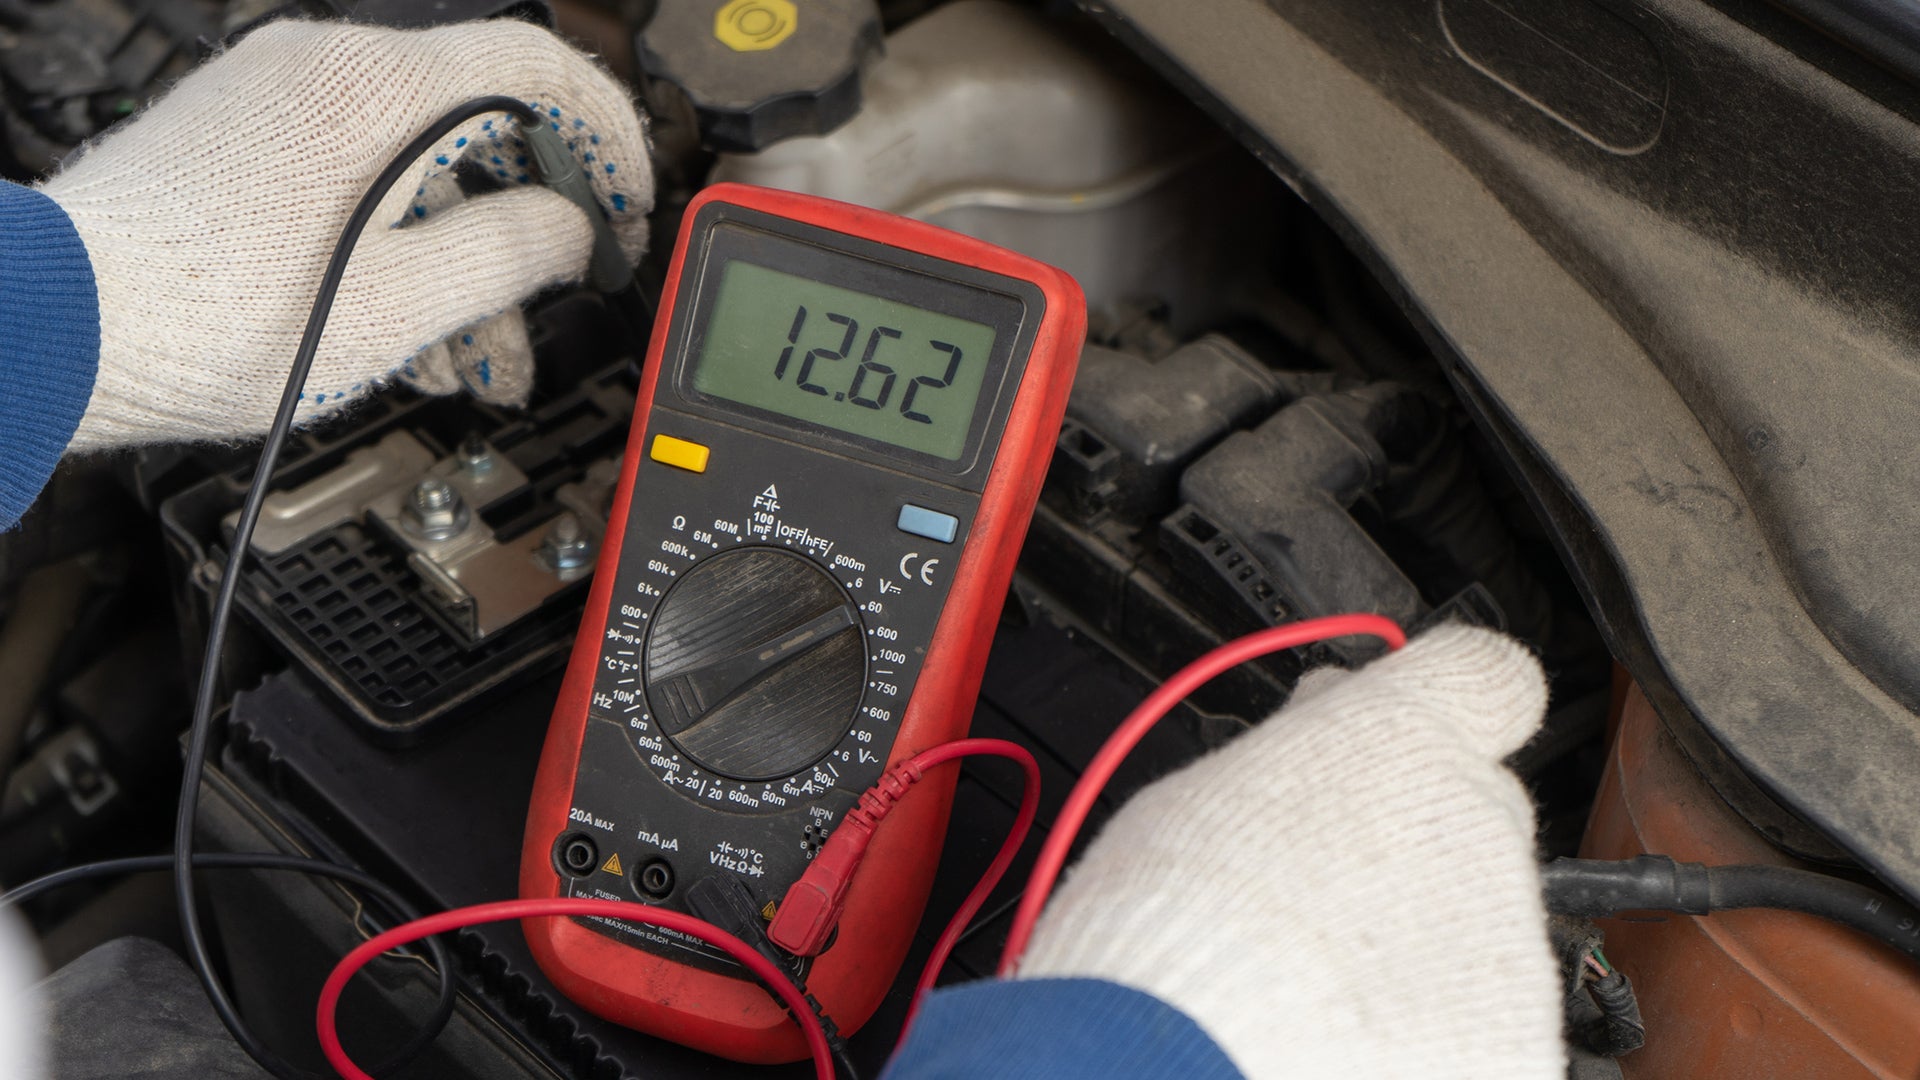
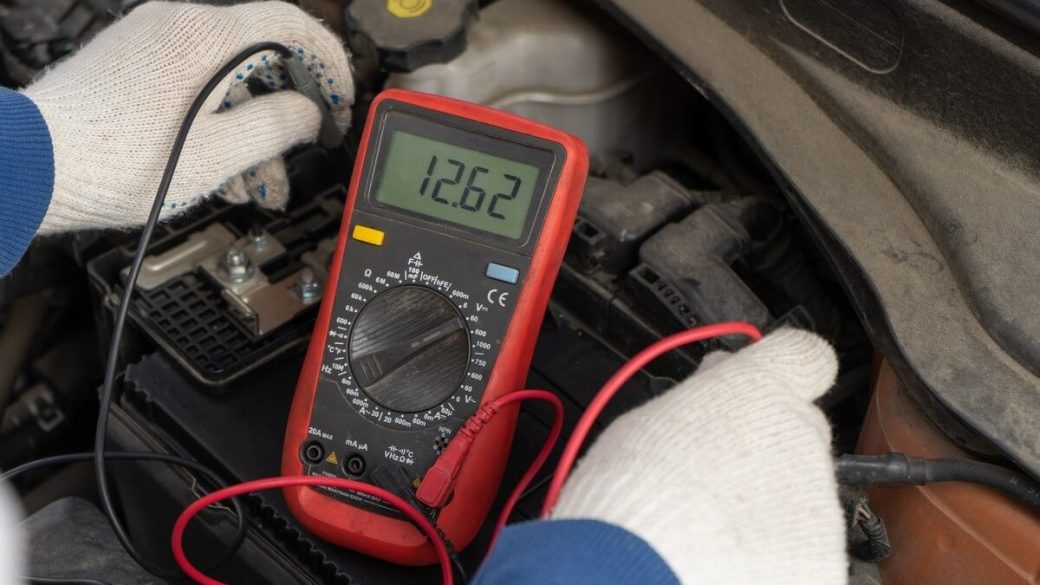
Connect the red probe of the multimeter to the positive terminal of the battery and the black probe to the negative terminal. Ensure that the probes are making good contact with the terminals.
Step 7: Read the Voltage
Read the voltage on the multimeter's display. A fully charged car battery should read between 12.6 and 12.8 volts. If the voltage reading is below 12 volts, your battery may be depleted and need to be charged or replaced.
Step 8: Test the Battery's Health
Set your multimeter to the battery test setting (if available). The battery test setting is usually marked with the letters "BAT" or a symbol that looks like a battery. This setting will test the battery's overall health and tell you if it needs to be replaced.
Step 9: Read the Battery's Health
Read the battery's health on the multimeter's display. If the reading is above 75%, your battery is healthy and does not need to be replaced. If the reading is below 75%, your battery may be depleted and need to be charged or replaced.
Conclusion
Testing your car battery with a multimeter is a simple and easy process that can save you time and money in the long run. By following these steps and ensuring that your battery is working correctly, you can prevent breakdowns and keep your vehicle running smoothly. Remember to always wear safety gloves and goggles when handling car batteries, and dispose of them properly to protect the environment.